
Ultimate Craft Area Tips & Tricks: Sorting Paper Scraps
Are you drowning in a sea of cardstock and patterned paper? How do you deal with paper scraps? Now, for the real question: Are you HAPPY with the way you deal with paper scraps? Does your system make your crafting life easier?
My re-organization happened almost by accident. It just so happened that I “lost” an entire pack of 6″x6″ page protectors somewhere in my art area. My art area is not that big. The page protectors were “right there” a minute ago. And all of a sudden, I dove into a 2-week re-organization project (during which, I found said page protectors).
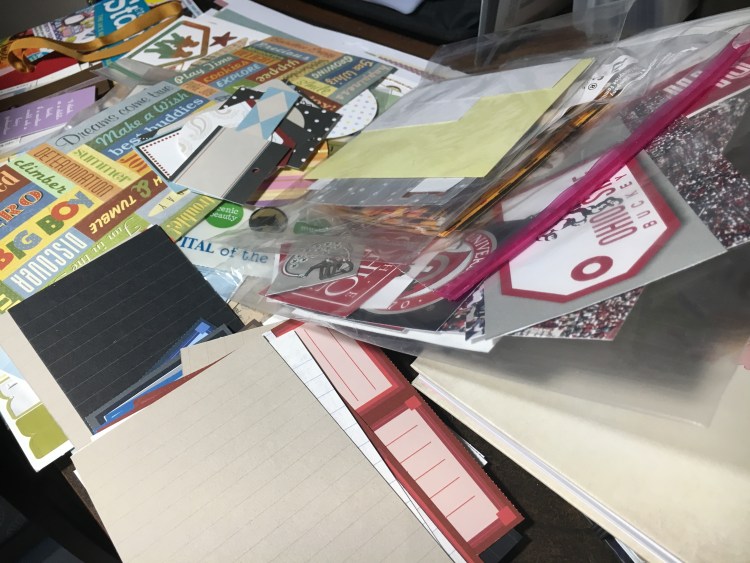
This short video shows my paper sorting “in-process”
I was determined to sort my paper and form some sort of order. While I sorted, I set up a 4′ folding table in the living room. This table served as extra sorting space AWAY from my actual art area.
I made some major changes in my paper organization, although they really aren’t noticeable to anyone besides me.
Here are the 3 main changes I made:
1. I STOPPED organizing non-holiday paper into holiday areas.
There is “Valentine’s Day” paper and then there is “pink patterned paper”. There is “Christmas” paper, and then there is “green patterned” paper. Paper that wasn’t clearly specified for a holiday got moved and sorted by color.
2. If I can’t see it, I won’t remember I have it.
The ultra-organized paper scraps won’t get used if I can’t see them OR if I can’t easily reach them. I had to think about how I wanted to REACH for stuff. Then, I organized my paper THAT way.
3. I need to realize when a paper scrap is trash. Here are some helpful ways I set limits for myself on paper scrap pile-up:
- I use a small basket, tin or jar for scraps. When it’s full, I make myself either use up those scraps or toss everything else until I do.
- I set a measurement for myself of the size of a scrap that is too small for ME to save. Then, STICK TO IT.
- I use whatever paper I choose for a project until it is virtually gone. I Determine that I will NOT pull any fresh paper until I have used all the scraps from the previous project.
- I cut scraps into sizes I use often and then store like-sizes together by color or type.
Watch the “Sorting Paper Scraps (part 2)” video HERE:
Hopefully, these tips help give you a jump-start for organizing YOUR paper scraps! Please LIKE and SHARE this post with your UNORGANIZED friends, and don’t forget to FOLLOW the Sandpaper Road blog!

I have plastic binders (about 9 x 11.5) for each color, pink, red, orange, yellow, green, blue, purple black and white. I made a brown one by covering one with brown vinyl. I keep patterned scraps on one side and solid on the other. They slip easily in and out of the file folder or craft storage like the Cropper Hopper Projections sticker stadium available at craft store.
I have one of those rolling carts that have lasting colored traus ( about 11by 8.5) and use the top colors for that color scrap and the bottom ones that repeat are for white. Black , browns and general patterned. Easy to go through when looking for a particular color or pattern!
Editing : plastic color trays